The controlcheck on electrospindles after maintenance is key to guaranteeing the repair. At GDM, every electrospindle repair culminates in a detailed control check process. This series of tests ensures that the equipment operates to the highest quality standards. As an example, we will look at the repair and checks carried out on an HSD ES794 electrospindle. Thanks to our experience and commitment, we have achieved exceptional levels of satisfaction according to our NPS surveys.
Translated with DeepL.com (free version)
Repair of an HSD ES794 electrospindle.
The HSD ES794 electrospindle arrived at our factory with serious turning problems that made it difficult to operate. In order to restore its functionality, we carried out the following operations:
- Replacement of the bearings.
- Replacement of the fixing nuts.
- Inspection and adjustment of the spacers.
- Replacement of O-rings.
- Balancing the motor.
Each step is carried out with precision to ensure the correct interaction of the components and extend the life of the equipment.
Trust GDM for your industrial repairs. Request more information by filling out our contact form and improve the performance of your equipment.
 Controlcheck on electrospindles: quality assurance.
Once repaired, the electrospindle undergoes a thorough check to ensure its performance. This process includes
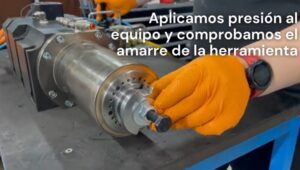
- Check the clamping of the tool:
This checks that the clamping system is working correctly and that the tool is firmly clamped without slipping. This avoids the risk of failure during machining and guarantees the precision of the work carried out. The clamping parts are also checked for wear or deformation. - Check the clamping torque:
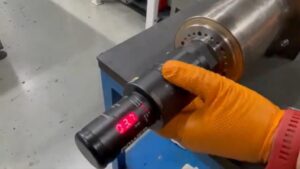
The force or torque exerted by the clamping system is measured to ensure it is within the values specified by the manufacturer. Correct torque ensures the stability of the tool during use, minimising vibration or slippage. The system is also checked for wear that could affect its long-term performance.  Check for obstructions in the area of the front fan:
Check that the air ducts are unobstructed to allow proper air flow. Proper air flow is essential to prevent spindle overheating and ensure optimum performance. In addition, any debris left after continuous use of the equipment is cleaned.
- Check for obstructions in the winding cooling zone:
Firstly, the cooling channels are inspected to ensure that the winding is kept at the correct temperature during operation. This prevents electrical insulation failure and extends the life of the motor. It is also checked that the coolant circulates without interruption. - Leak test of the cooling circuit:
First, the cooling circuit is checked for leaks that could compromise its efficiency or damage the equipment. Leaks are accurately identified to avoid damage to internal components. The correct pressure in the cooling system is also ensured. - Check for blockages in the lubrication circuit of the rotary unions:
The circuit is checked to ensure that lubrication reaches the moving parts. Effective lubrication reduces frictional wear and extends component life. They are also checked to ensure that there is no debris restricting the flow of lubricant. - Piston sensor reading test:
The sensors that control piston movement are checked to ensure accurate readings for proper operation. This allows the system to work in synchronisation, avoiding errors in tool clamping. The stability of the signals from the sensors is also checked. - Tool clamped and piston back sensor read test:
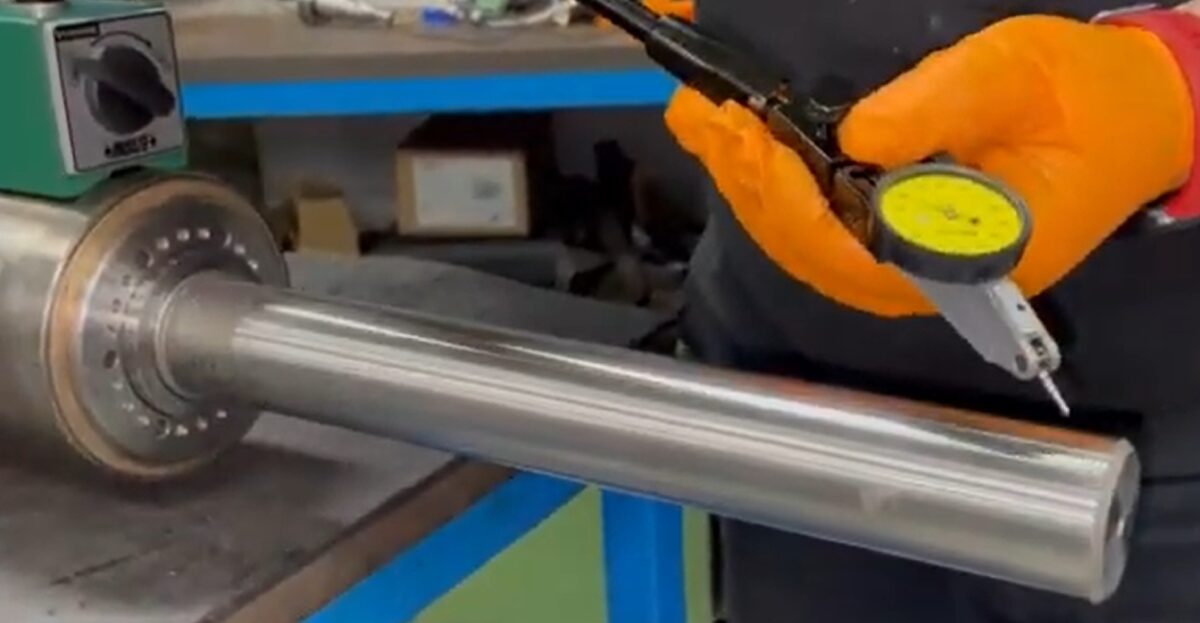
Checks that the sensor reliably detects when the tool is correctly clamped and the piston is in the correct position. Correct operation prevents machining failures. The calibration of the sensor is also analysed to maintain the accuracy of its readings.  Taper test with dial gauge:
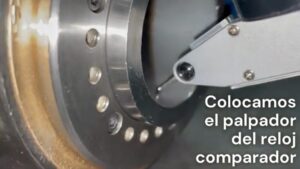
A dial gauge is used to measure any deviations in the spindle taper to ensure alignment and spindle balance. This test is key to preventing vibration and dimensional errors during machining. In addition, components are adjusted if deviations are detected.
- Taper jump test with standard bar:
A sample bar is used to confirm that the cone jump is within the set parameters, ensuring machining accuracy. As a result, this test allows the alignment of the entire system to be validated. Any deviations detected are immediately corrected to avoid future problems. - Running-in test with consumption analysis:
First, the electrospindle is run at different speeds and loads, and the electrical consumption is analysed to detect any anomalies in its performance. As a result, these tests make it possible to identify unusual consumption peaks that may indicate internal problems. In addition, the stability of the operation under real conditions is verified.
All in all, this series of tests ensures that the equipment is ready to operate smoothly. In conclusion, all this allows GDM to offer a guarantee on the repairs carried out after the control check tests on electro-spindles. The quality control of the repair reaches a level of thoroughness that allows us to be very proud of our work.
Explanatory video: the controlcheck process in electrospindles step by step (only in Spanish).
In addition, our demonstration video shows step-by-step how we carry out each test in the Controlcheck process. From checking tool clamping to running-in tests with consumption analysis, the video explains each stage in a clear and understandable way. You will see how our team uses advanced methods and state-of-the-art technology to ensure that the electric spindle, in this case an HSD ES794, meets the highest quality standards. Every detail, from the tools used to the sensor readings, is presented so that you can appreciate the precision and dedication with which we work. This approach not only ensures optimum results, but also reflects GDM’s commitment to excellence in industrial maintenance.
Customer satisfaction is our priority.
Firstly, our commitment to quality does not end with the repair. We are proud that our Net Promoter Score (NPS) surveys show an impressive 0% dissatisfaction rate for the year 2024. This result shows that none of our customers have a negative perception of our services, confirming our professionalism and the thoroughness of our processes. In addition, we have achieved an NPS index of 74 points, which is exceptional in the industrial maintenance sector.
Achieving this level means that the majority of our customers are active promoters, i.e. they are not only satisfied but also recommend our services. This achievement is a direct reflection of the guaranteed quality of our repairs and the meticulous care that goes into every check carried out. This is why, in addition to optimising equipment performance, we strengthen the trust and loyalty of those who rely on GDM as a strategic partner.
If you need a maintenance service that guarantees quality and satisfaction, contact GDM today.


